

In this blog post, I will show you how to insert website and web page schema into your WordPress website. Also, I have made a video tutorial if you prefer watching instead of reading.
The purpose of this blog post is to show you the workflow after you have generated the web page schema.
How do you insert schema and implement it into WordPress?
In order to get started, You will need to install a wordpress plugin called header footer code manager. More details on that will follow below.
Overview of the process
- Generate webpage schema using schemawriter.ai.
- Optimize webpage schema for entities.
- Go to WordPress and install the plugin HFCM (Header Footer Code Manager).
- Select the page in the plugin, and insert the schema code.
Generate schema using schemawriter
To generate the schema and edit it we use schemawriter.ai. If you are not already familiar twith schemawriter.ai, it is an AI-based software that reverse engineers your competitors.
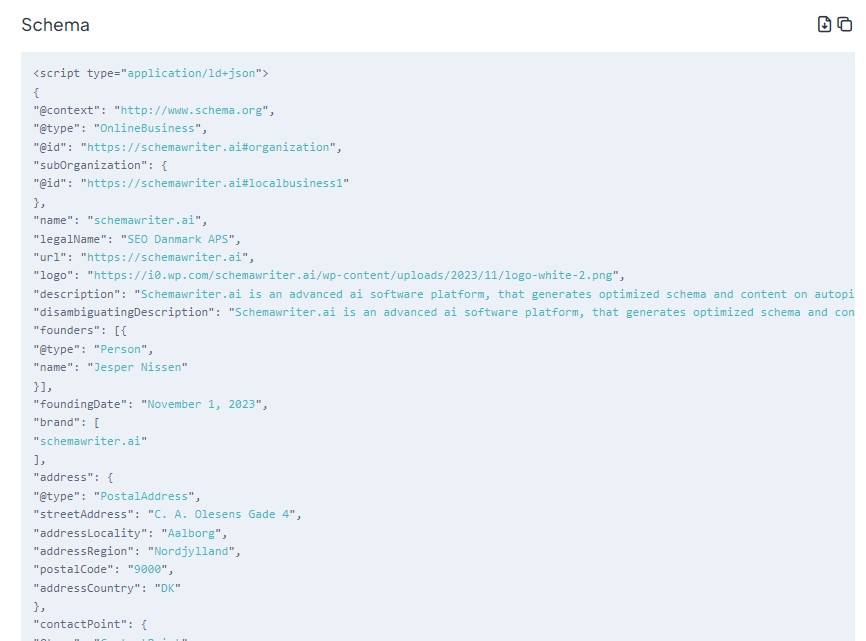
It generates the webpage schema automatically and all the schema code is optimized with entities and YAKE keywords.
Screenshot of schema code created with schemawriter.ai:
How to generate schema
Generation of schema like this using schemawriter is very simple, you follow these steps:
- Insert a target keyword.
- Select your target ur.
- Select target country and language.
- Click Generate.
The schemawriter.ai will analyze the top 10 competitors, and in a matter of minutes, generate complete entity optimized webpage and article schema.
Validate your schema code
This step is crucial, so dont skip it!
In order to get the actual benefits of inserting schema in your webpage, the schema needs to have the correct format. It needs to be without errors.
You will need to validate your schema code, and the way to do this is independent if you use schemawriter.ai, if you write the schema in hand, or you use another tool to create your schema code.
Go to schema.org. You click Validate, and click on Code snippets. You paste the schema code into the text field and run the test.
If you have any errors, the tool will show you where they are, so you can correct your schema code.
Add the plugin HFCM to WordPress
In order to be able to insert schema code in your wordpress pages, follow these steps to install the plugin:
- Login to wordpress dashboard.
- Click on plugins.
- Go to add new plugin.
- Search for HFCM (Header Footer Code Manager).
- When you find it, all you need to do now is click install.
- Once it’s installed we click on Activate.
Add new snippet in HFCM to insert schema
In the left menu in WordPress dashboard, there is a new item called HFCM. This is the new plugin you just installed. Click on this item. Inside the plugin you can add new snippets. Each snippet can contain schema code, and you specify for what page you want.
How to insert schema code in page
To insert schema code in a page, follow these steps:
- Click on Add new snippet.
- Name the snippet the title of your page.
- Select snippet type Javascript.
- In Site display, select either specific page or post.
- Select now the actual page or post.
- In field Snippet/Code, insert the actual full schema code.
- Click on Save.
For each page you will need to insert a different schema file, so this means you generate a new snippet for each page or post. And in this snippet, you then insert the corresponding schema code.
Clear cache in order to see the schema code
Most WordPress websites have some sort of SEO plugin installed, or some sort of speed optimization plugin.
If you have one of these plugins installed, you will need to clear the cache. Otherwise the search engines will not see your schema code.
Once you have cleared the cache, copy your page URL, go to schema.org, and click Validate, and paste in the URL and click on Run test.
If you did it correctly, the validation page will show your url with the full schema code you just inserted. Congratulations, you just inserted schema into your page!
Hope you found this useful!
Check out our previous post on: How I ranked number one in 24 hours using Parasite SEO – Jesper Nissen SEO
FAQ, frequently asked questions:
What if there allready is webpage schema?
In all of my testing, what I’ve seen is you don’t need to disable the current schema to get results because Google is well aware of what you are trying to do. But at all times try to only have one of the same type of schema in your pages. For example, only have one webpage schema, and not two.
What is schema markup, and why is it important for WordPress pages?
Schema markup is a type of microdata that helps search engines understand the content on web pages. It enhances search engine results by providing rich snippets, which can improve click-through rates and visibility on Google.
How can I add schema markup to my WordPress site without coding?
Besides the plugin HFCM, there are other options. You can use plugins like Yoast SEO, All in One Schema Rich Snippets, or Schema Pro to easily add schema markup to your WordPress pages without any coding knowledge.
Can I manually insert schema markup into my WordPress pages HTML?
Yes, you can manually add schema markup by editing the HTML of your page. Insert the appropriate JSON-LD script within the head section of your theme files or directly into the content using the text editor mode in WordPress.
Are there tools to help generate schema markup for WordPress pages?
Yes, tools like Googles Structured Data Markup Helper and JSON-LD generators can assist in creating the correct schema markup code that you can then insert into your WordPress pages.
How do I verify if my schema markup is correctly implemented on my WordPress site?
You can use Googles Rich Results Test or Schema.orgs validator tool to check if your schema markup has been correctly implemented and recognized by search engines.


